Ensuring a Safe Connection: A Step-By-Step Trailer Hitching Guide
Content Provided By Trailer Safety Week Partner CURT Manufacturing
Step 2: Line up your vehicle
Position your vehicle so that it is in a straight line with the trailer set up. Having a straight shot when backing up to the coupler will make it much easier than trying to zigzag your way into the correct position.
Have your helper stand off to the side and give you signals of which direction to go.
Step 4: Align the ball and coupler
Back your vehicle up the rest of the way to the coupler, going very slowly and using extreme caution. The coupler should line up perfectly with the trailer ball.
It is important that you go slowly during this step and that you rely on your helper to tell you which way the vehicle needs to go. If things are not lining up on the first try, pull forward and try again.
Step 6: Latch the coupler
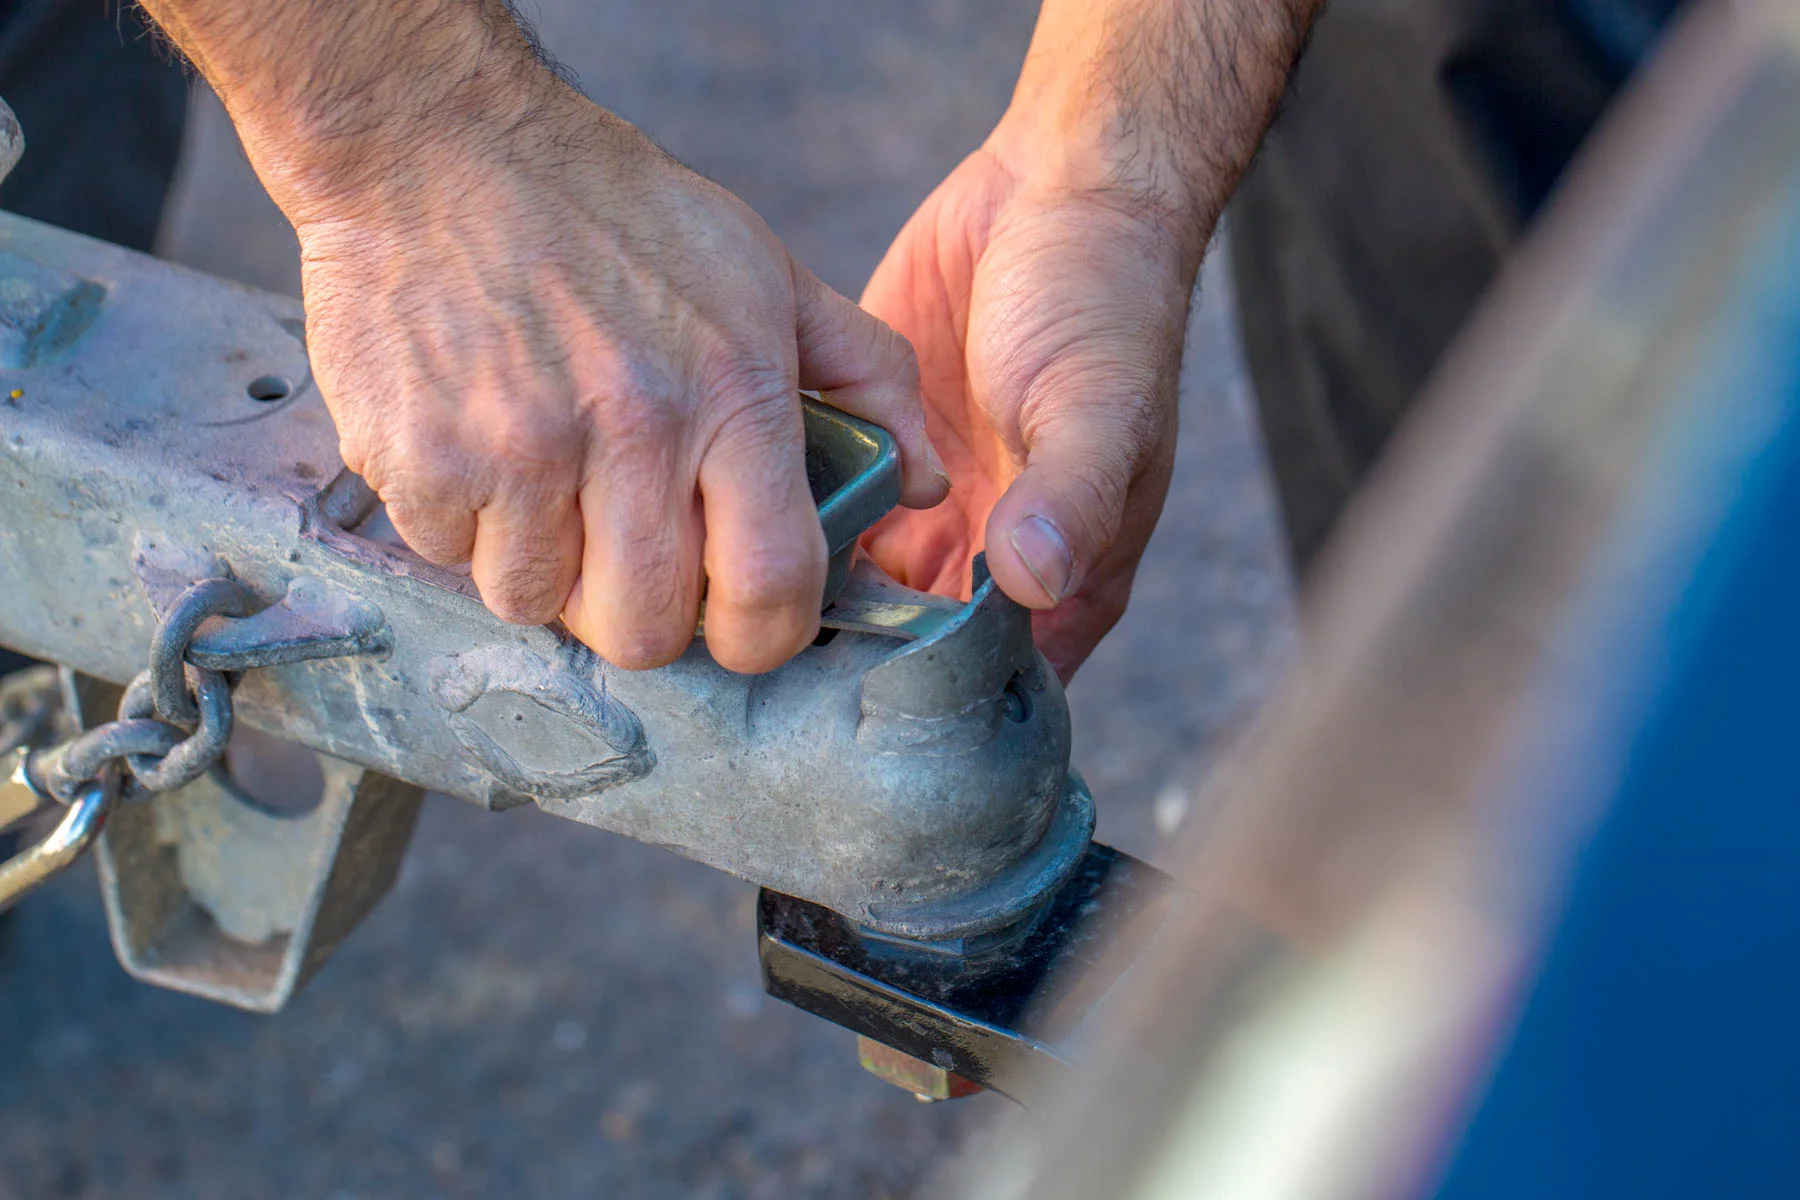
With the coupler fully seated on the ball, engage the latch and secure it with a safety pin or coupler lock.
Learn more about how to select a lock.
Next, jack up the trailer tongue slightly to test the connection. If it comes off the ball, it means that the coupler was not properly seated before being latched. Unlatch it and try again. You can try shifting the tongue forward and backward to get it fully seated.
Step 8: Retract the trailer jack
When the coupler is secure, fully retract the trailer jack. The trailer jack will need to be up and out of the way for towing.
Some jacks feature a swivel bracket that allows them to swing up parallel with the ground. Others simply have a leg that retracts into the jack post.
Step 10: Check the trailer lights
With your helper standing in view of the trailer lights, turn them on one at a time to make sure they are working. You should check your right turn signal, left turn signal, hazards, running lights and brake lights.
Have your helper call out each lighting function as he or she sees it. If one of your lights is not working, use an electrical tester to make sure there is an active signal at the vehicle-to-trailer wiring connection.
Step 1: Find a friend to help
The first step in trailer hook up is to find a friend to help you. Having someone else outside the vehicle to give guidance will make the process much easier.
Before starting, agree on a set of signals for turning directions, when to back up and when to brake. Have your helper stand on the driver's side of the trailer, even with the trailer tongue, and make sure you can see him or her clearly before backing up.
Step 3: Raise the coupler
When your vehicle is about a foot away from the trailer tongue, stop and adjust the trailer coupler height.
Make sure the coupler will clear the trailer ball as you back the vehicle up the rest of the way. If it is raised too much, lower it until it is only a few inches higher than the ball.
Step 5: Lower the coupler onto the ball
With the vehicle in park and the emergency brake engaged, use the trailer jack to lower the coupler until it is resting on the ball. You should also make sure the coupler latch is in the upright, unlocked position before lowering.
If you find that the coupler is offset from the ball, raise the jack again and repeat the previous step.
Step 7: Attach the chains in a crisscross pattern
Safety chains are required by law. They should be attached in a crisscross pattern underneath the coupler to provide a sort of cradle. If the coupler ever becomes disconnected from the ball, the crisscrossed chains are intended to catch the coupler.
Each safety chain should be rated to meet or exceed the gross trailer weight, and they should not touch the ground when attached.
Step 9: Plug in the trailer wiring
Plug your vehicle wiring harness into this trailer. You can limit the amount of excess wire between the vehicle and trailer by wrapping the harness around the trailer tongue. The harness should not touch the ground, but it should have enough length to make turns without tension.
With an adequate amount of wire length, press the trailer-side plug firmly into the vehicle-side socket.
For more Hitching Tips visit the Trailer Safety Week official Towing Safely Guide:
Important Safety Resources
To Report Safety Problems and Obtain More Information
If you discover a potentially serious safety problem with your vehicle, or if information is missing from your trailer certification label, call the DOT Auto Safety Hotline at (888) 327-4236/TDD (800) 424-9153, or visit www.safercar.gov.
For questions regarding your tow vehicle, please contact your automobile dealer or manufacturer.
Access Additional Safety Resources Below
-
1 (888) 327-4236 | www.nhtsa.gov
-
(785) 272-4433 | TrailerSafetyWeek@natm.com
-
www.NATM.com | (785) 272-4433 | NATMHQ@natm.com


